

I'm trying to catch up on some of the things we've done in the last couple of months. Back in April, the girls' elementary school sponsored a craft/rummage sale fundraiser, and my mom and I participated. As happens to me prior to EVERY craft sale, a couple of days before the sale, I start feeling the frantic urge to add to my stock, as I'm usually caught up on projects for gifts, not for sale.
This time was no exception, so I made 26 of these gift bags, which I was shown at a MOPS craft day. The supplies you need are:
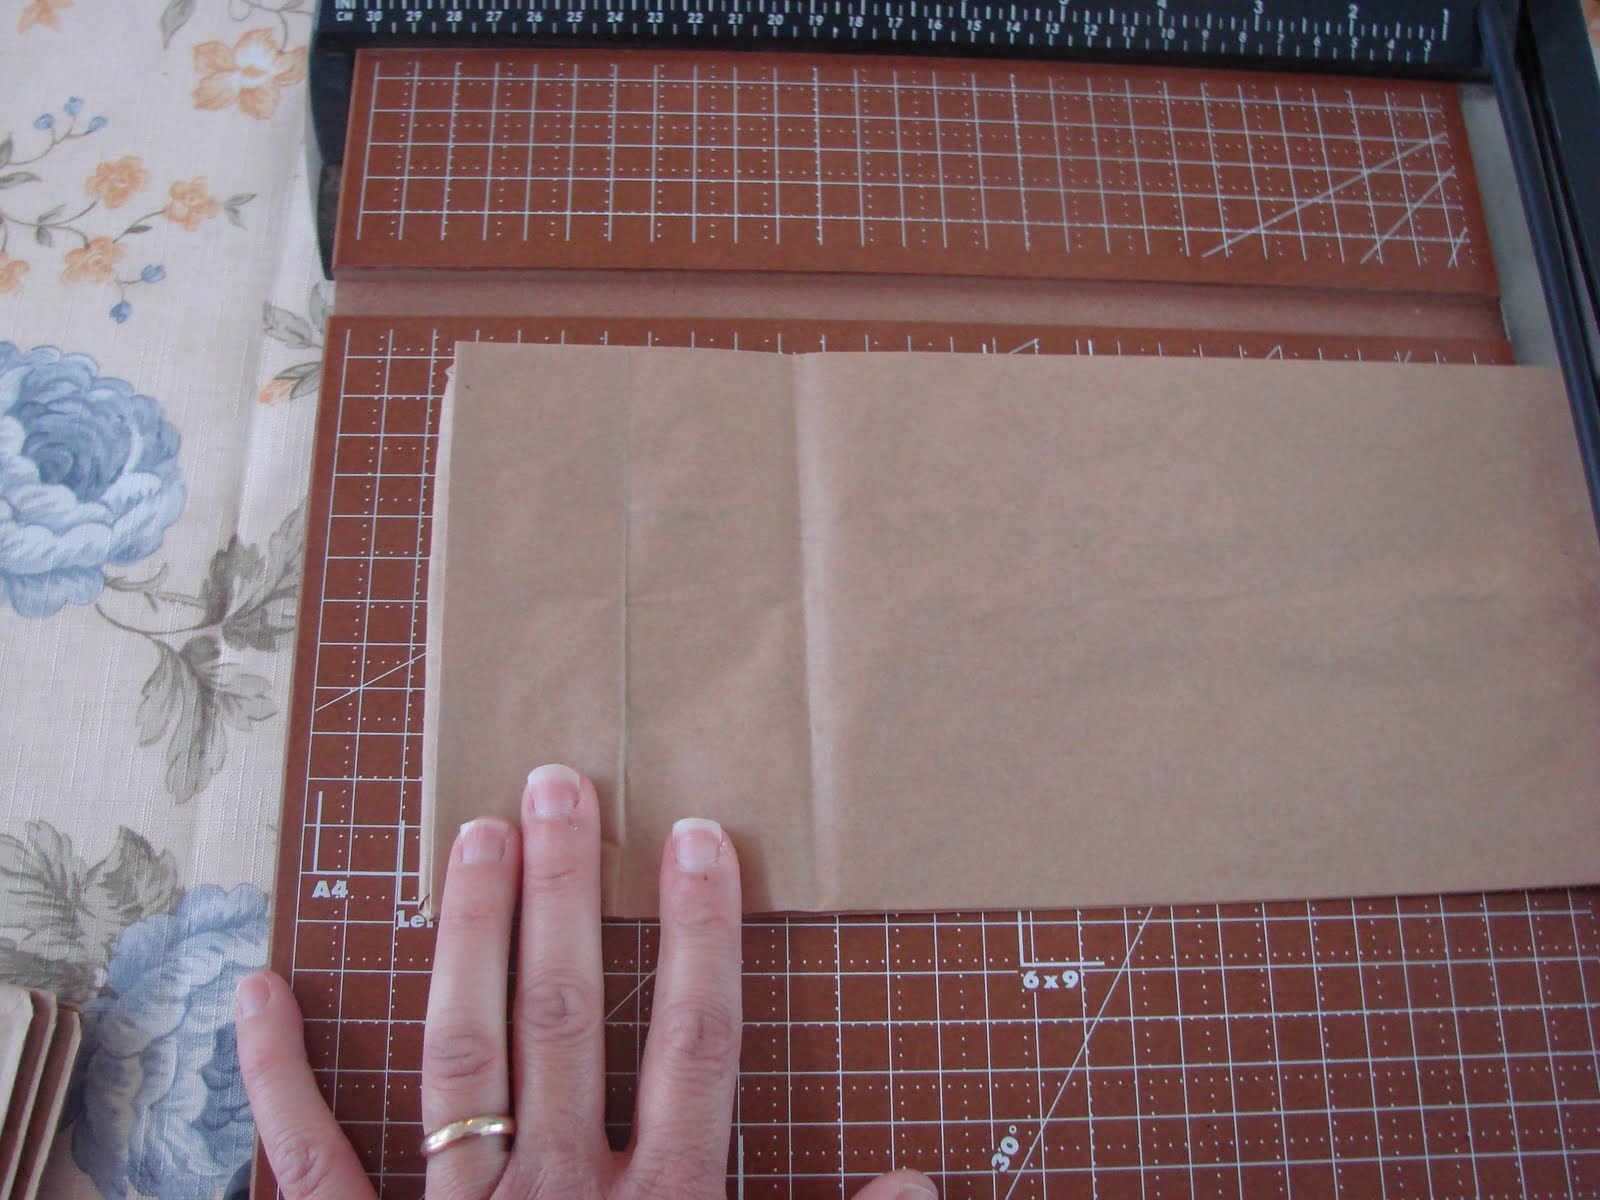
- a lunch bag size paper bag
- scrapbook paper
- colored card stock
- ribbon
- self adhesive Velcro dot
- glue
- embellishment for the flap
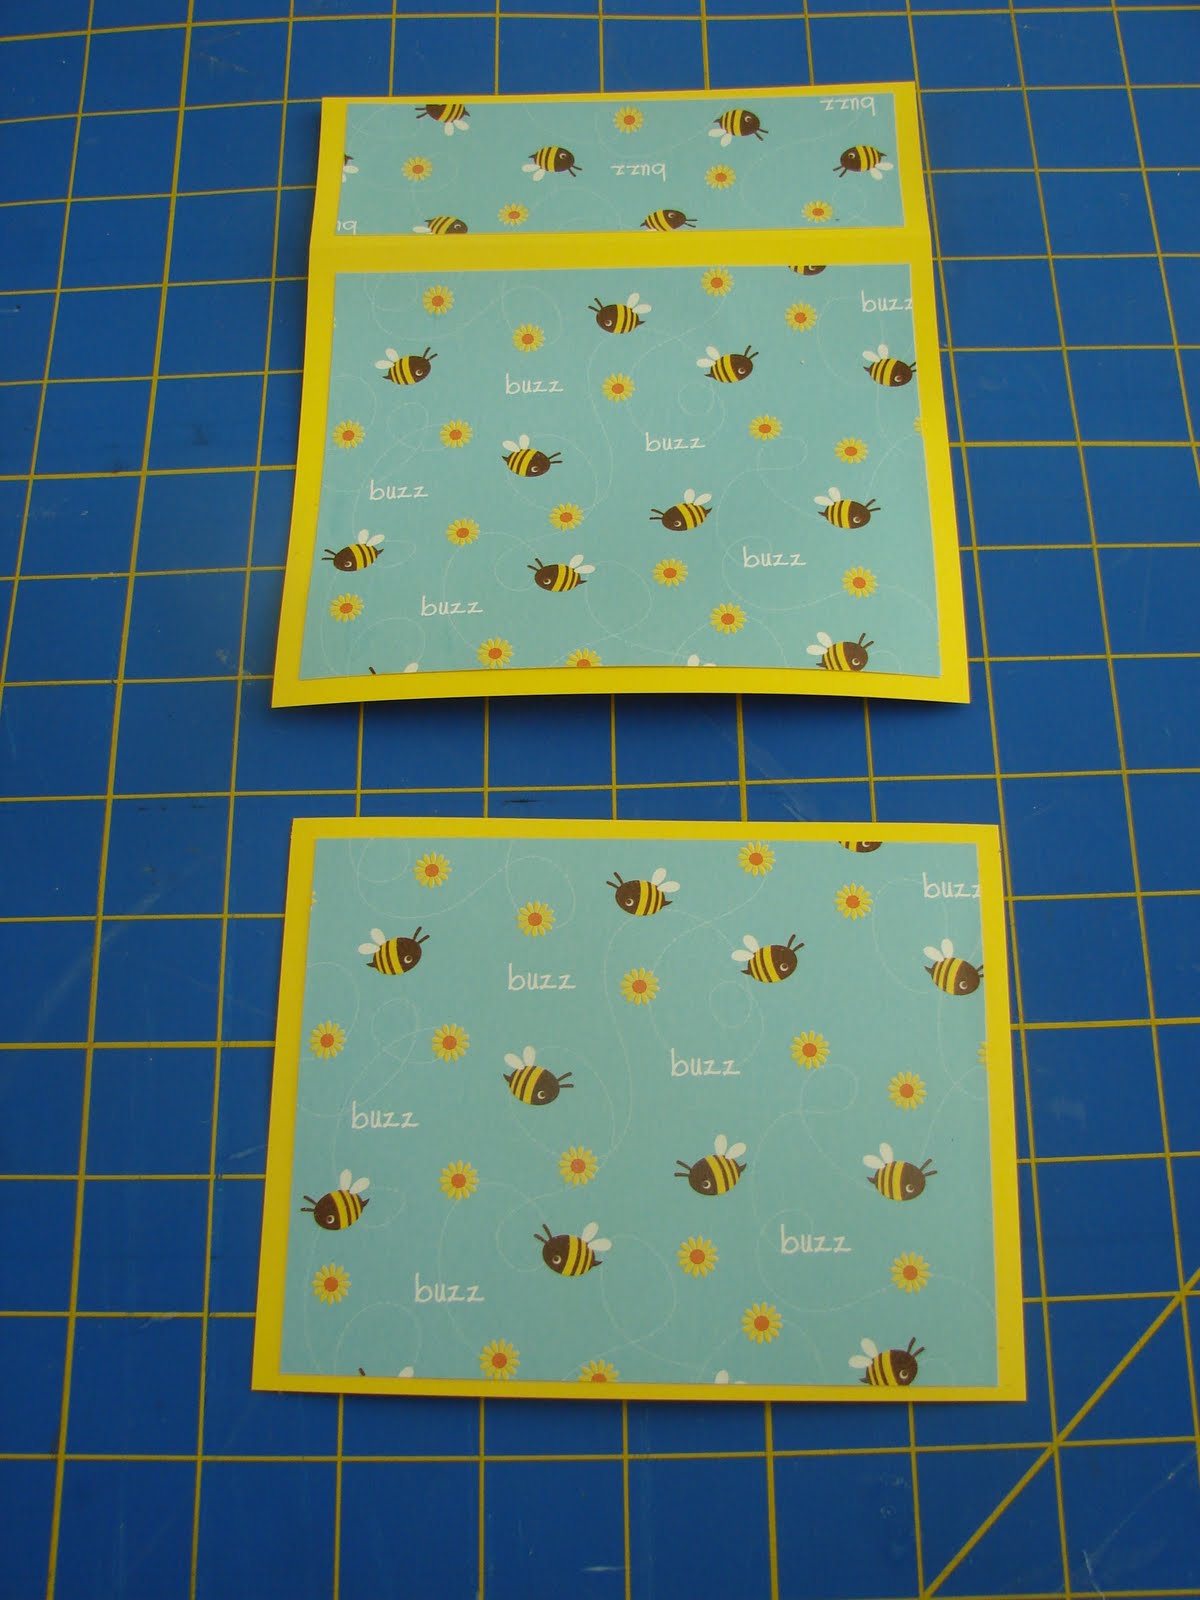
Cut your scrap book paper into 3 pieces: 2 of them 4" x 6", and one 1 1/2" x 5". Cut your colored card stock into 2 pieces: one 4 1/4" x 5 1/2", 6 1/4" x 5 1/2". This is what you should have:

Take the larger of your colored card stock pieces, and score it cross ways 1 3/4" down from the top edge. Fold along the score line.

Glue your scrapbook paper pieces to your cardstock pieces, keeping even colored margins around each pieces. Pay attention to the patterns if they are directional or continuous patterns. Your folded piece will be the back of the bag, but the flap will be on the front.


Center a Velcro dot on the front of the bag, and center the corresponding piece on the flap. In order to make this a little easier, I stuck the two dots together, peeled off the paper backing, and attached the first dot to the bag. Then, I closed the flap, pressing it down on the sticky part of the other dot.


Thanks for sharing.
ReplyDeleteVal
www.crieartezzanato.blogspot.com
I am your follower, be mine too.
Hugs